Resistance Band Workout Plan: Build a Routine Around Your Bands
A useful resistance band routine starts with the band you actually own. Use this two-day full-body plan, choose exercises that fit your band and setup, and progress one step at a time.
In this article
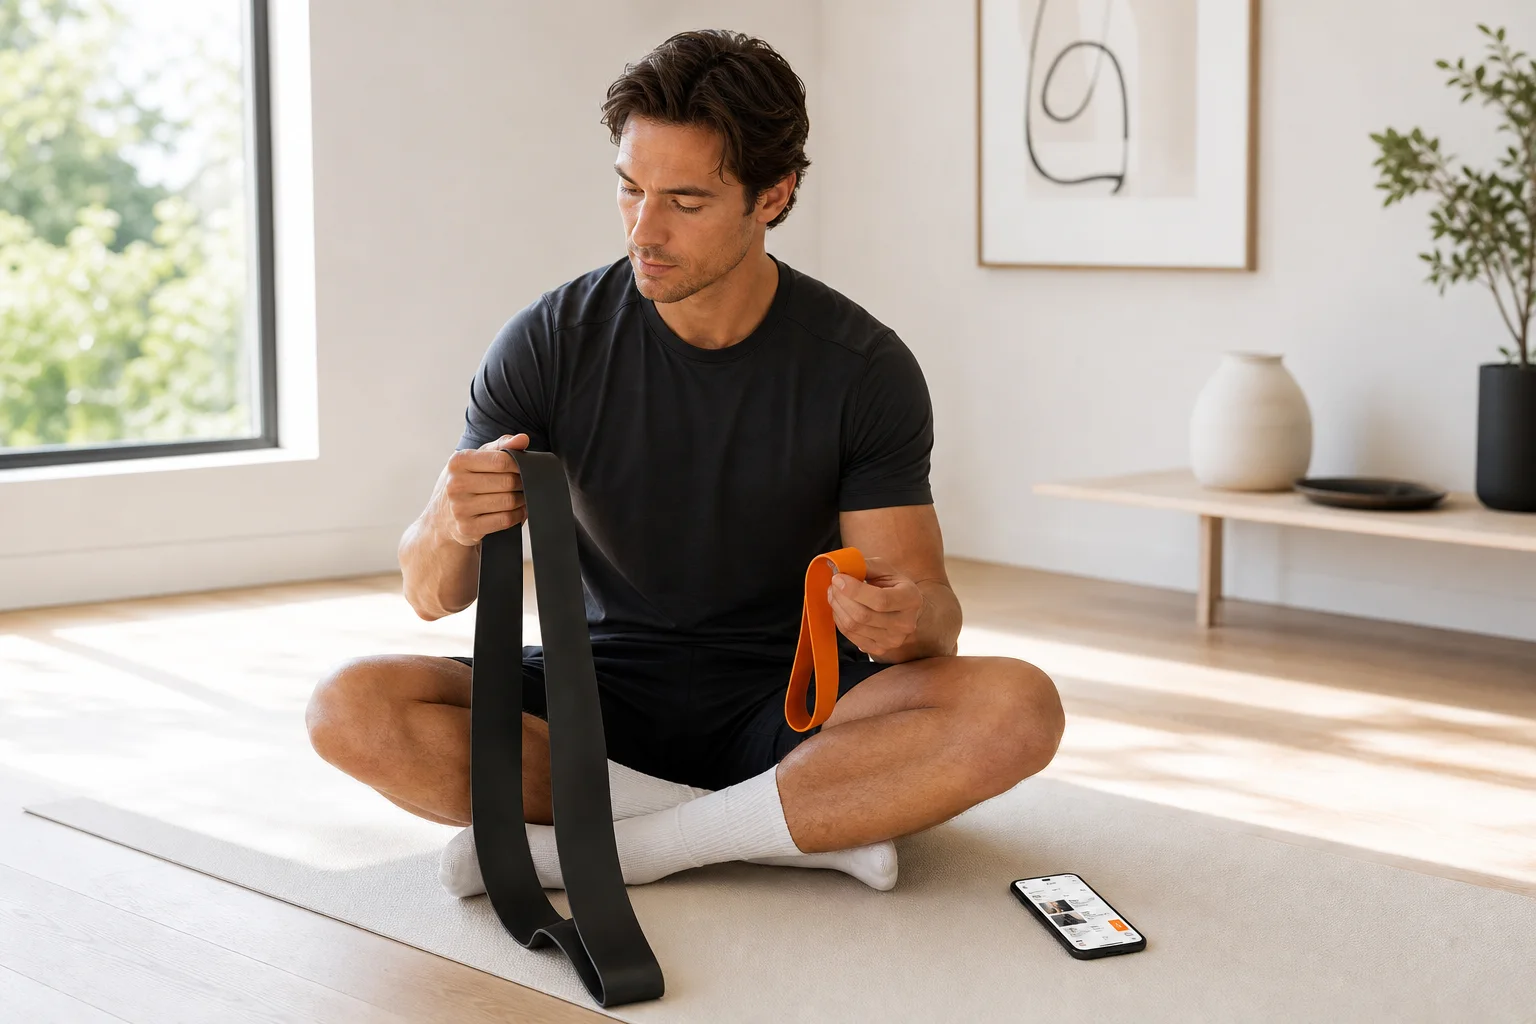
A resistance band workout plan is easier to follow when every exercise matches the band and setup you have—not the equipment in someone else’s video. A long handled tube band, a flat therapy-style band and a small loop band each make some movements simpler than others. Start with exercises you can set up securely, cover the major movement patterns, and record what you do so you can repeat or adjust the session.
This guide gives you two full-body workouts to alternate across the week. You can do them with a suitable long band and, where noted, a mini loop. If you own only one type, use the substitutions to keep the plan practical. Choose resistance that lets you move with control through the listed repetitions; the band’s color or thickness alone does not tell you how challenging it will feel in every exercise.
How to match exercises to your resistance bands
Before building your routine, identify what your band can do safely. A long band can usually be held, stood on or attached to a purpose-made anchor. A mini loop is useful for lower-body movements around the thighs or ankles, but it is not a substitute for a long band in every exercise. If you do not have a secure anchor, choose movements that do not require one rather than improvising with a door, furniture or another uncertain attachment.
- Long loop or flat band: Often works for squats, hinges, rows and presses when you can hold or stand on it securely.
- Tube band with handles: Can make presses, rows and curls easier to grip. Use an anchor only if it is designed for bands and installed according to its instructions.
- Mini loop: Suits lateral walks, glute bridges and other short-range lower-body exercises. It will not provide a comfortable setup for most rows or chest presses.
- No reliable anchor: Favor standing-on-band rows or presses if your band is designed for that setup, plus squats, hinges and mini-loop options.
Check the band for tears, cracks or other damage before use. Keep it away from sharp edges, and do not aim a stretched band toward your face. If an exercise relies on an anchor, check that it is secure before you start. Stop and reset if the band slips or your grip or position feels unstable.
A two-day resistance band workout plan
Schedule Workout A and Workout B on two nonconsecutive days—for example, Tuesday and Friday. Each session works the upper and lower body using a mix of pushing, pulling, squatting and hinging patterns. For a straightforward starting point, do 2 sets of 8–15 controlled repetitions per exercise. Rest long enough between sets to repeat the next set with good control; around one to two minutes is a useful starting point, but take more time if needed.
For one-sided movements, complete the repetitions on both sides. Choose band tension that makes the last few repetitions feel challenging while still allowing you to maintain your position and range of motion. If you are new to strength training, begin at the lower end of the range and use a lighter or easier setup while you learn the movements.
Workout A: squat, push, pull and hinge
- Band squat: Stand on the band with feet about shoulder-width apart and hold the ends near your shoulders, or use a mini loop above the knees. Sit down between your hips, then stand tall. Keep the band under your feet if that is the intended setup for your band.
- Standing band chest press: If you have a purpose-made anchor at chest height, face away from it and press forward. Without an anchor, wrap a suitable long band behind your upper back, hold it securely and press forward. Skip this version if the band shifts or cannot be held safely.
- Band row: Use a secure, purpose-made anchor in front of you, or sit with legs extended and loop a suitable band around your feet if its design allows. Pull your hands toward your ribs without leaning back to finish the repetition.
- Band hip hinge: Stand on the center of a long band and hold its ends. Push your hips back with a soft bend in the knees, then stand by bringing your hips forward. Choose a band and grip that stay secure throughout the movement.
- Standing band overhead press: Stand on the band, hold the ends at shoulder height and press upward only through a comfortable, controlled range. Use a lighter band if you need to lean or arch to complete a repetition.
Workout B: split stance, upper-body pull and core control
- Supported split squat: Take a staggered stance and use a wall or stable support for balance if useful. Lower under control, then return to standing. Add a band only if you can secure it comfortably under the front foot and hold it without slipping.
- Band pull-apart: Hold a light band in front of your chest with arms extended but not locked. Pull your hands apart without shrugging, then return slowly. Use a short, comfortable range if the band feels too strong.
- Glute bridge with mini loop: Place a mini loop above your knees, lie on your back and bend your knees. Press through your feet to lift your hips while keeping the loop under gentle tension. Without a mini loop, do the same bridge without the band.
- Band curl: Stand on a long band and hold the ends with palms facing forward. Bend your elbows without swinging your torso, then lower slowly. If your band is too long to create manageable tension, choose a different exercise rather than wrapping it around your hands in a way that affects your grip.
- Standing band anti-rotation press: With a secure anchor to one side, stand sideways to it and press your hands forward, resisting the band’s pull to rotate your torso. If you do not have a reliable anchor, use a controlled dead bug or another unweighted core exercise instead.
Make the routine fit your actual setup
Do not force every exercise into one band configuration. A useful equipment-based plan has a clear alternative for movements that need an anchor or a different band shape. If you have only a mini loop, keep the loop for lower-body work and use bodyweight exercises for upper-body pushes and pulls until you have a suitable band. If you have a long band but no anchor, favor standing-on-band variations and movements that require no attachment.
You can also swap a movement for a similar pattern. For example, if you cannot set up a band row securely, try a bodyweight pulling option only if you have suitable equipment and know how to use it safely. Otherwise, keep the session simple and choose another movement that fits your available setup. The goal is a repeatable plan, not a complicated list of exercises.
If you prefer bodyweight options for some movements, see this calisthenics workout plan matched to available equipment. If you have bands and dumbbells, the dumbbell-only workout guide can help you compare how to organize a plan around different tools.
How to progress without changing everything at once
Resistance bands feel different from free weights: the tension often increases as the band stretches. Keep your repetitions controlled instead of relying on momentum, and use a range that you can manage comfortably. Progress one variable at a time so you can tell what changed.
- First, add repetitions within the suggested 8–15 range while keeping the same setup.
- When you can complete the top of the range with consistent control, consider a slightly stronger band or a small change in starting tension, if your band allows it.
- You can also make a movement more demanding by using a suitable variation or adding a third set, rather than increasing several things at once.
- If your form changes, the band slips, or you cannot control the return, reduce the tension or choose an easier variation.
Record the exercise, band type, setup, sets and repetitions. A simple note such as “standing row, long band, 2 × 12” is more useful than recording only “band workout,” because it helps you reproduce the same setup next time. For more detail on tracking gradual changes, read how to plan progressive overload without guesswork.
Fit the plan into your week
For many adults, public activity guidance recommends muscle-strengthening activity that works the major muscle groups on at least two days each week. This plan offers two sessions as a practical starting structure, not a rule that every person must follow exactly. Adjust the exercise selection, effort and schedule to your experience, available equipment and other training.
Keep the first few sessions deliberately manageable. A brief warm-up with easy bodyweight movements and lighter practice repetitions can help you rehearse each setup. If you miss a session, resume with the next workout rather than trying to squeeze both into one day. If you are unsure how to begin strength training, the beginner two-day strength plan offers another simple weekly structure.
GymPT lets members build a manual training plan without AI credits and save workout records with a free account. You can also request optional AI support or review a personal trainer’s proposal and decide whether to save and use it. A trainer can review only the programs, workout records and notes you permit them to see. Whatever route you choose, match the exercises to your real equipment, record what you complete and make the next adjustment based on what you can perform with steady control.